Whether you call it seed starting, sowing seed, or propagating, you’re speaking my language. One of the most thrilling garden activities—in my opinion—is getting your seeds started. And the best part is its easy!
I prefer sowing my own seeds for many reasons. Firstly, there are so, so many more plants and varieties accessible as seed that are simply not available for sale at garden centers or nurseries. It’s cheaper—and who doesn’t like that? Homegrown plants are healthier, more robust and generally happier than purchased plants. And finally, digging in soil and seed starting just feels good and is the perfect antidote to the winter blues!

Read my posts on Garden Planning, Sow Schedule and Plant Spacing if you aren’t sure how many seeds to sow, when to sow or how many plants you need to fill your garden. However if you’ve got that all covered and are ready to dig in and start sowing, gather your supplies!
Seed Starting Supply List:
- Trays and Pots
- Potting Soil and shovels
- Plastic Domes or Cling Wrap
- Labels and Marker
- Seeds
- Light
- Warmth* (optional—see my post on the Top 10 Tips for Seed Starting Success)
Seed Starting in 5 Easy Steps
#1 — Fill your trays and pots with soil.
Use a large cup or scoop to fill your trays and pots with moist—NOT wet—potting soil. Scrape any excess soil off the top and tamp down the tray or pot so the soil settles more evenly.
Depending on where you are in your garden journey you can get fancy with plastic trays and pots for seed starting, or go low-tech using peat pots, old toilet paper rolls, paper pots, yogurt cups or even the bottom of milk jugs. It just depends on what you have on hand. Just be sure you have drainage holes in the bottom. For solid plastic, drill/cut small holes in the bottom to allow the water to drain properly. Root rot is likely in the absence of adequate drainage.

Over the years I’ve personally gravitated towards plastic trays and pots. While initially it’s an investment, I sanitize and reuse mine every year so they’re really paid for themselves in a very short time.
A Note on Potting Soil:
My go-to, all-time favorite potting mix for seed starting is, Pro-Mix BX with Mycorrhizae—and this is NOT a sponsored post, I just love this product so much I want to share it with you. I used to make my own, but over time as my production scaled up, I found it more efficient to purchase this as a general purpose potting soil. I use it to start just about everything! The peat moss in the mix is great for keeping seeds and plants moist, with the vermiculite and perlite provide ample airspace and drainage. It’s the addition of mycorrhizae that makes this a powerhouse. Mycorrhizae is a symbiotic fungi (this is a GOOD thing!) that helps plants access additional water and nutrients by increasing root surface area significantly. I seriously need to devote an entire post to the magic of mycorrhizae.
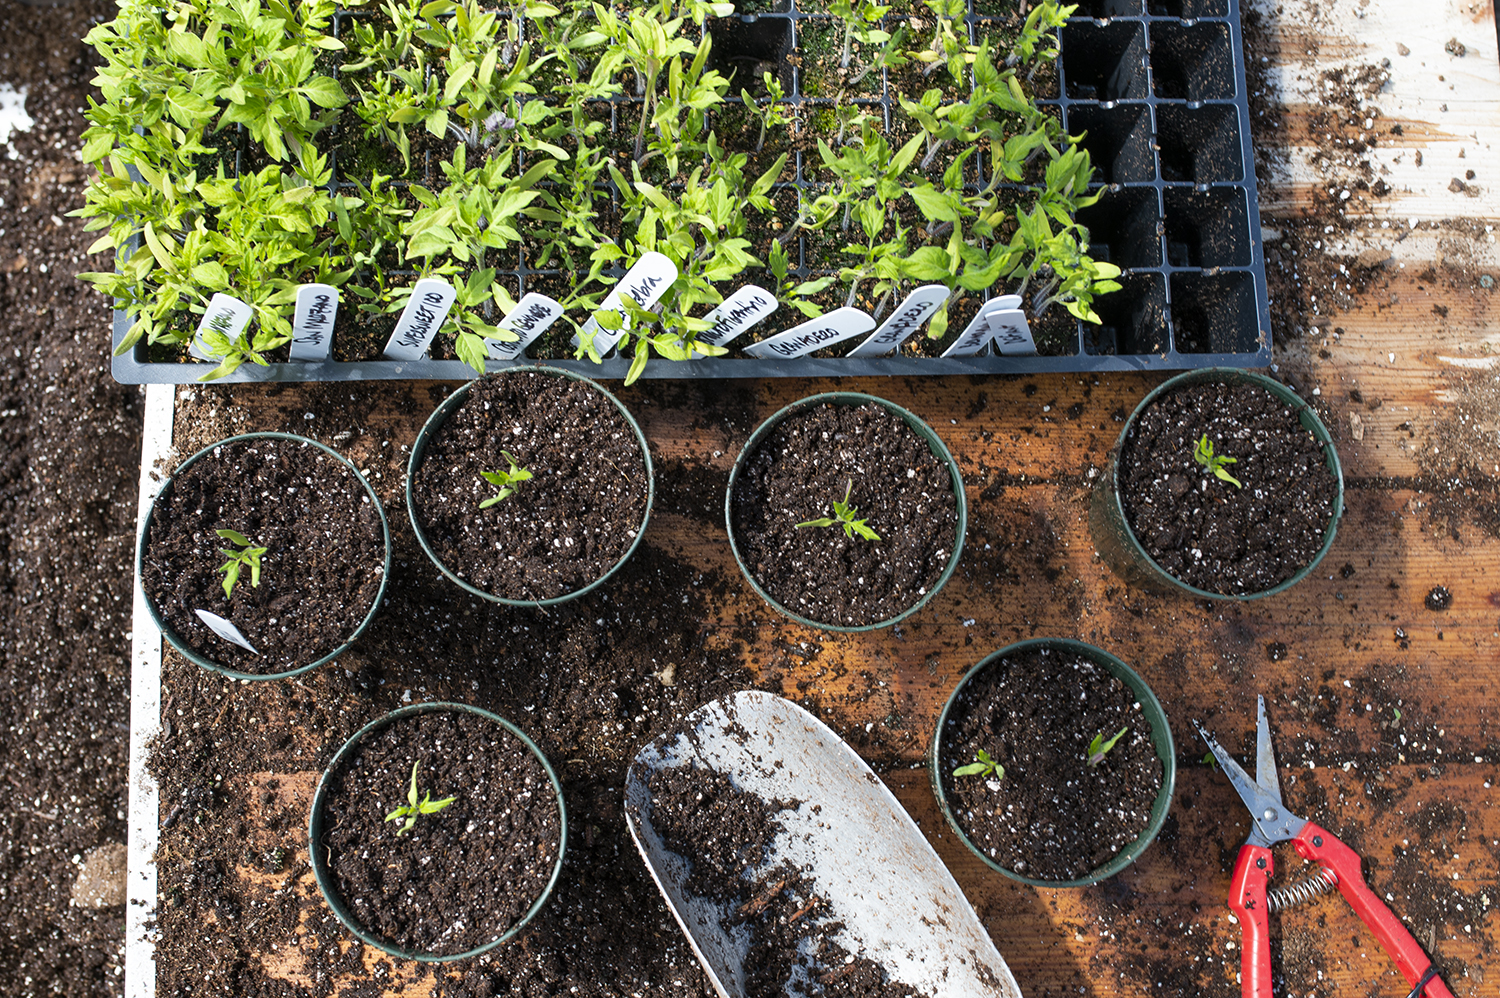
#2 — Label
Use a sharpie to label wooden popsicle sticks, plastic labels (DIY-made from old mini-blinds), wooden paint stir sticks, or even painters tape with seed name and date.
In the past I’ve found myself confused when I have a “map” or think I’ll remember what-is-planted-where. I don’t. Moral of the story: the importance of labeling CANNOT be overstated.

#3 — Seed.
This is the fun part! Using a pencil (or finger) press 1-2 seeds into each cell or pot and cover with soil. Some very tiny seeds such as lettuce and savory need light to germinate, so do not cover them.
If your seed packet doesn’t include information on how deep to plant your seed, a good rule of thumb is; plant seeds 2-3 times their width deep, remembering that its always better to plant too shallow than too deep.

PS: If you aren’t starting with newly purchased or freshly harvested seed, and aren’t sure whether they’re still good, check out my post on how to Test your Seed Viability.
#4 — Light, humidity and temperature are essential to seed starting and germination.
In order to germinate and set roots, seeds need to be exposed to light and stay in contact with moist, airy soil at the correct temperature.
Seedlings need lots of light in order to grow. South facing windows are great, but remember you’ll need to rotate your trays or pots daily to maintain even light exposure. However if you are starting a more robust amount of seeds you’re going to need grow lights. Cheap shop lights from your local hardware store are amazing. Position the lights as close as possible to the top of your soil, within 2-3 inches is ideal. As your plants grow taller, raise the lights to maintain this distance.

To maintain good humidity and soil moisture, top each tray, or pot, with a plastic dome or plastic wrap. Remove these once you see green shoots emerging!

Temperature-wise, 65º-75ºF is ideal to get most seeds to start growing. If you have the ability to keep your cool and warm weather crops separated, your cool season crops like lettuce, onions and peas prefer slightly cooler temperatures of 55º-65ºF to get started.
Heat mats—while not required—will give your seedings a significant headstart. Top of the refrigerator works well as well as incandescent rope lights. Check out my post for 10 Tips on Seed Starting!
#5 — Maintain water and light to keep things growing.
Check your seeds and seedlings every couple days to make sure the soil hasn’t dried out and that the light it appropriate. Water as needed to keep the soil moist, rotate trays and pots to keep light exposure balanced and raise those grow lights if and when your seedings get taller.

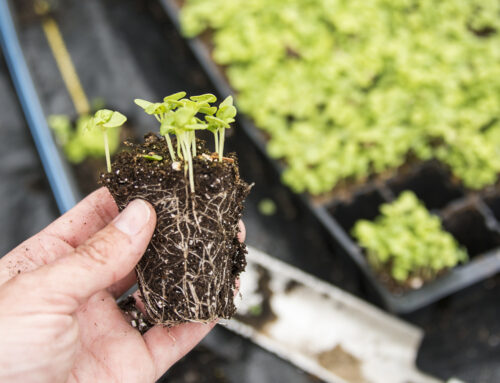
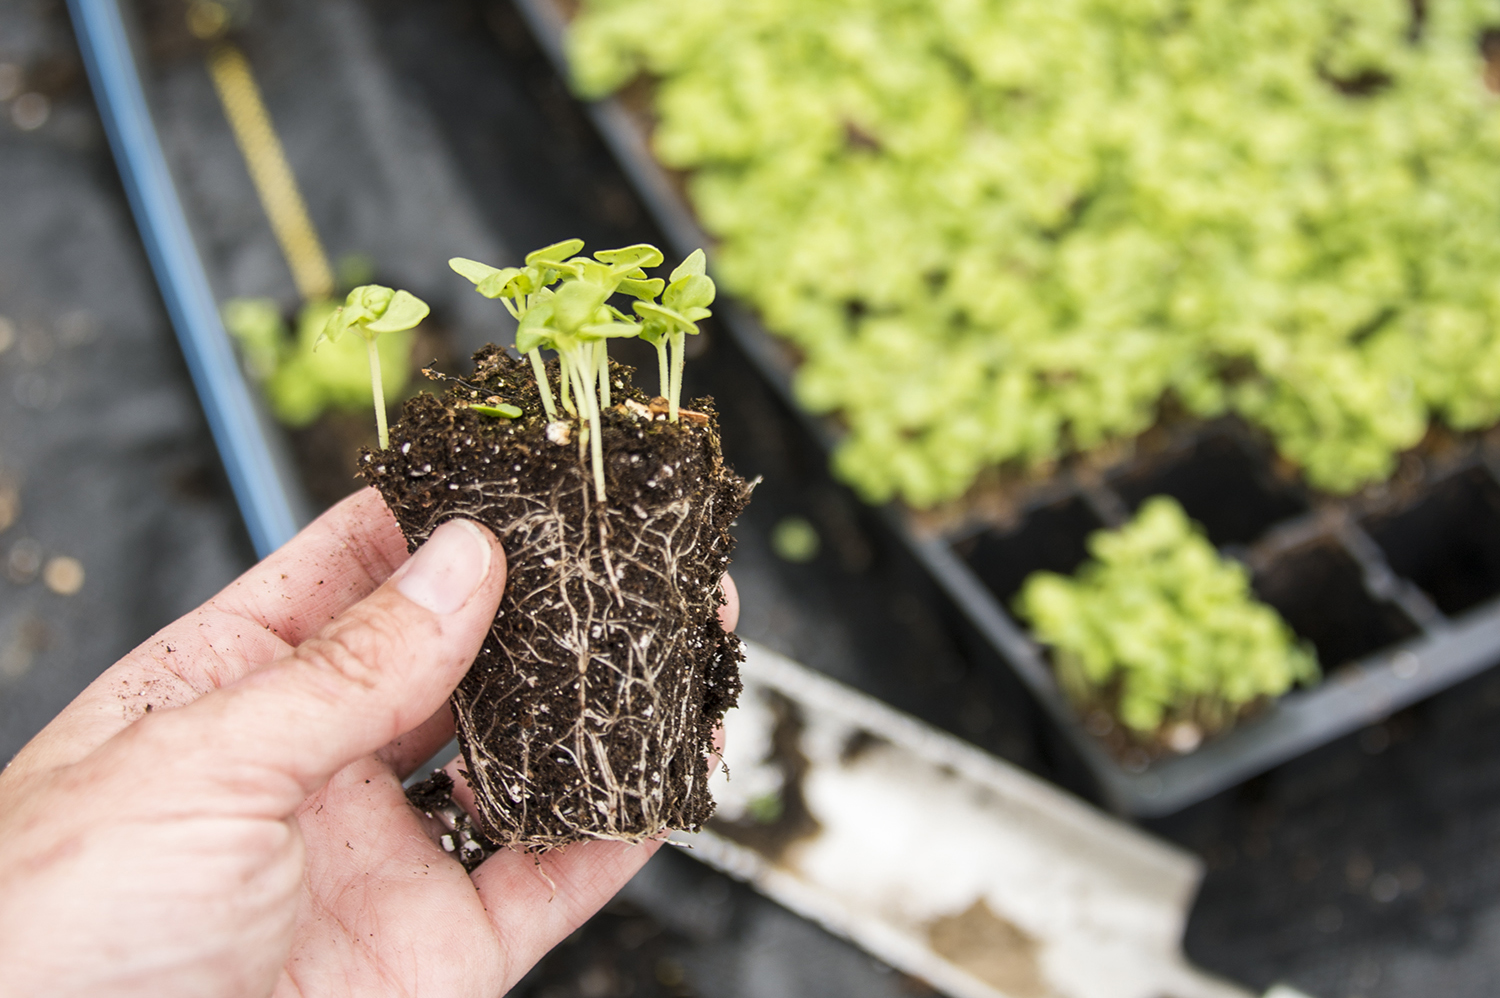
This is it—you’ve arrived! Your little seeds have grown into healthy, happy seedlings and you are now a seed starting guru!
Next up:
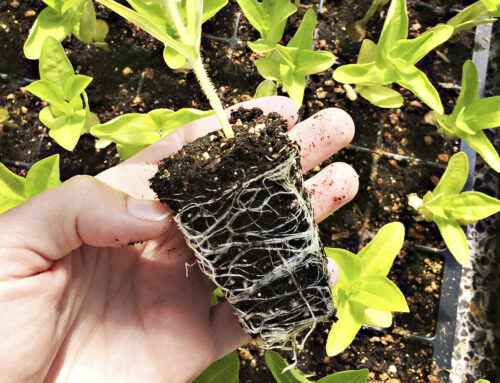
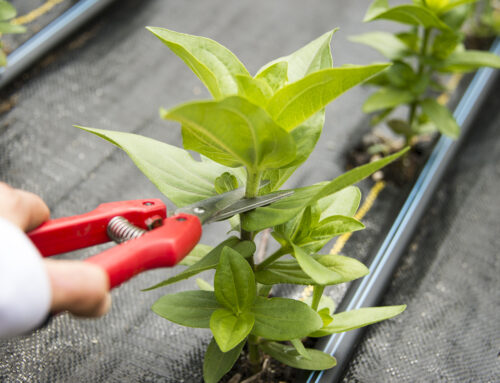
Your seedlings’ root systems will soon be developed enough, and will be ready for their new home. Transplanting into larger pots and a quick period of hardening off are up next!

[…] going to level with you, even though you aced Seed Sowing, and your seedlings happily growing and green, they’re not exactly ready to go in the ground just […]
[…] gardeners, feel free to check out my post, 5 Steps to Successful Seed Starting for more step-by-step […]