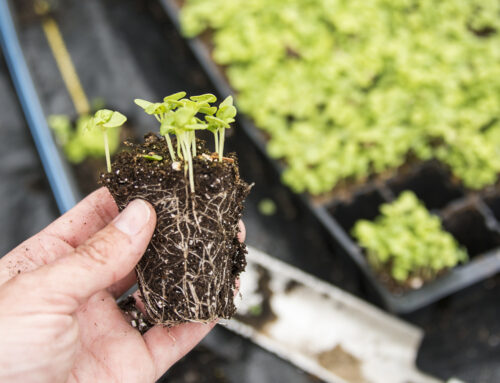
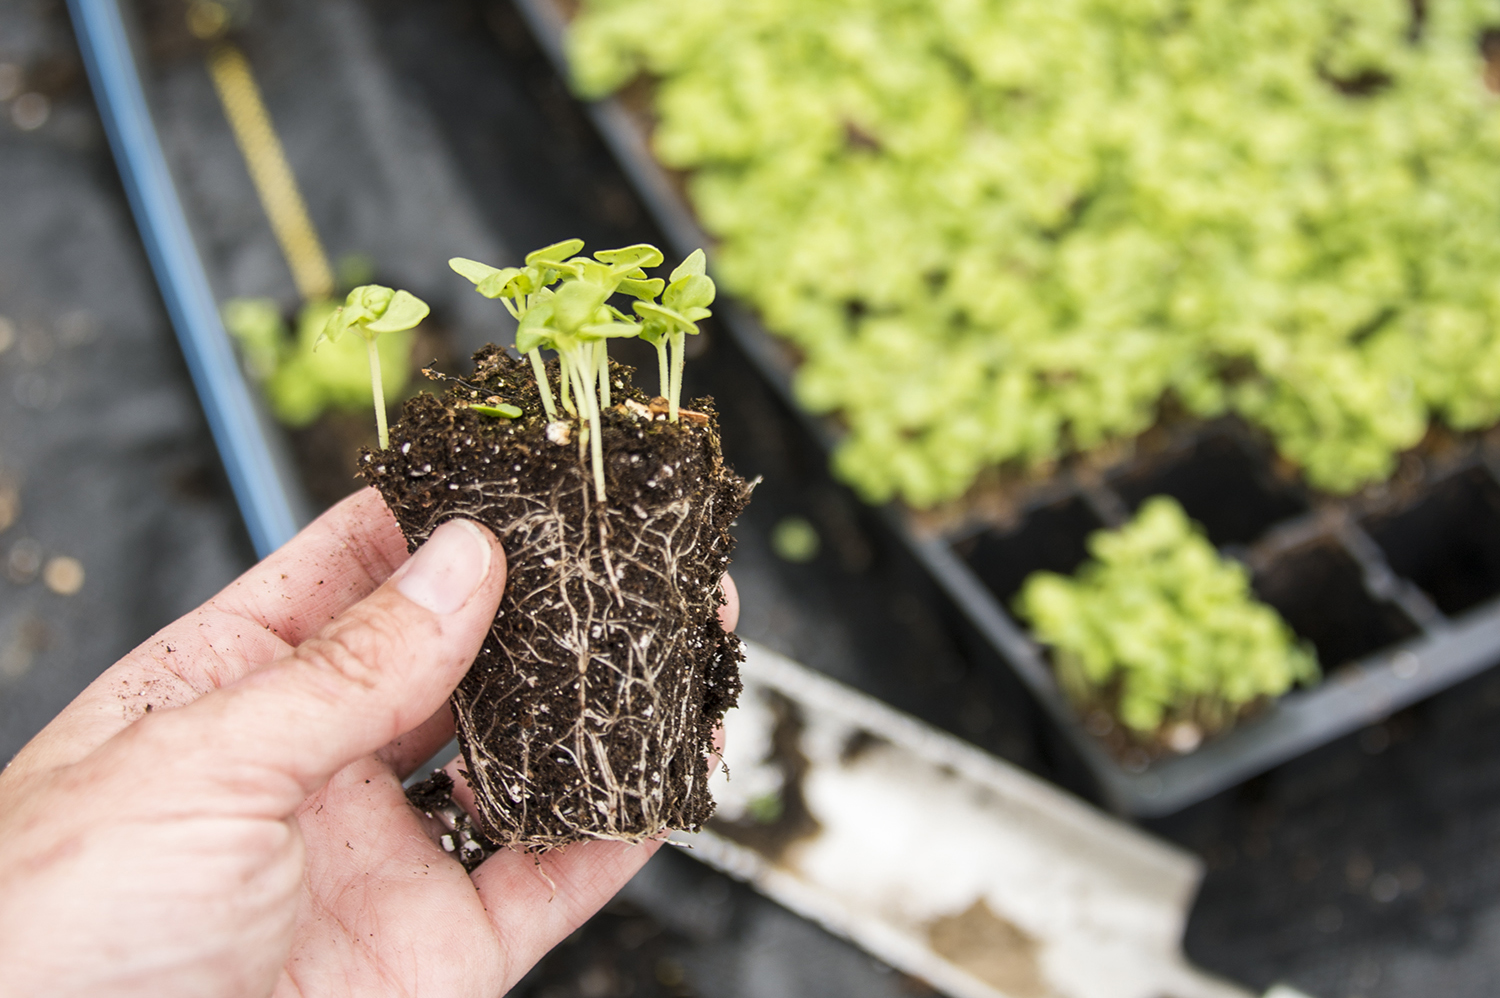
Let’s get your seedlings off to a great start with my favorite seed sowing tips! I never mind propagating – whether sowing seed or taking cuttings, but I especially love starting seeds. It’s pure magic! You start with the tiniest of crumbs and within weeks you have a living plant. Life is truly amazing.
Newbie gardeners, feel free to check out my post, 5 Steps to Successful Seed Starting for more step-by-step details.

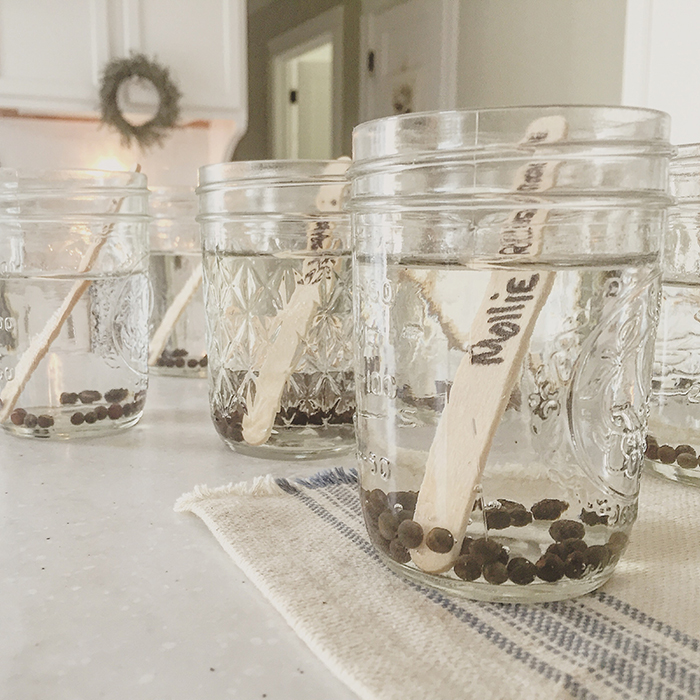
Seed Sowing Tips
1. Use great soil! Happy, healthy, lush plants start with a good base. My favorite all-purpose potting mix is Pro-Mix BX with Mycorrhizae.
2. Moisten your potting mix before you sow your seeds. Watering afterwards often results in seeds sliding around the container. Also, it is hard to ensure the entire potting medium is moist if it’s watered from the top.
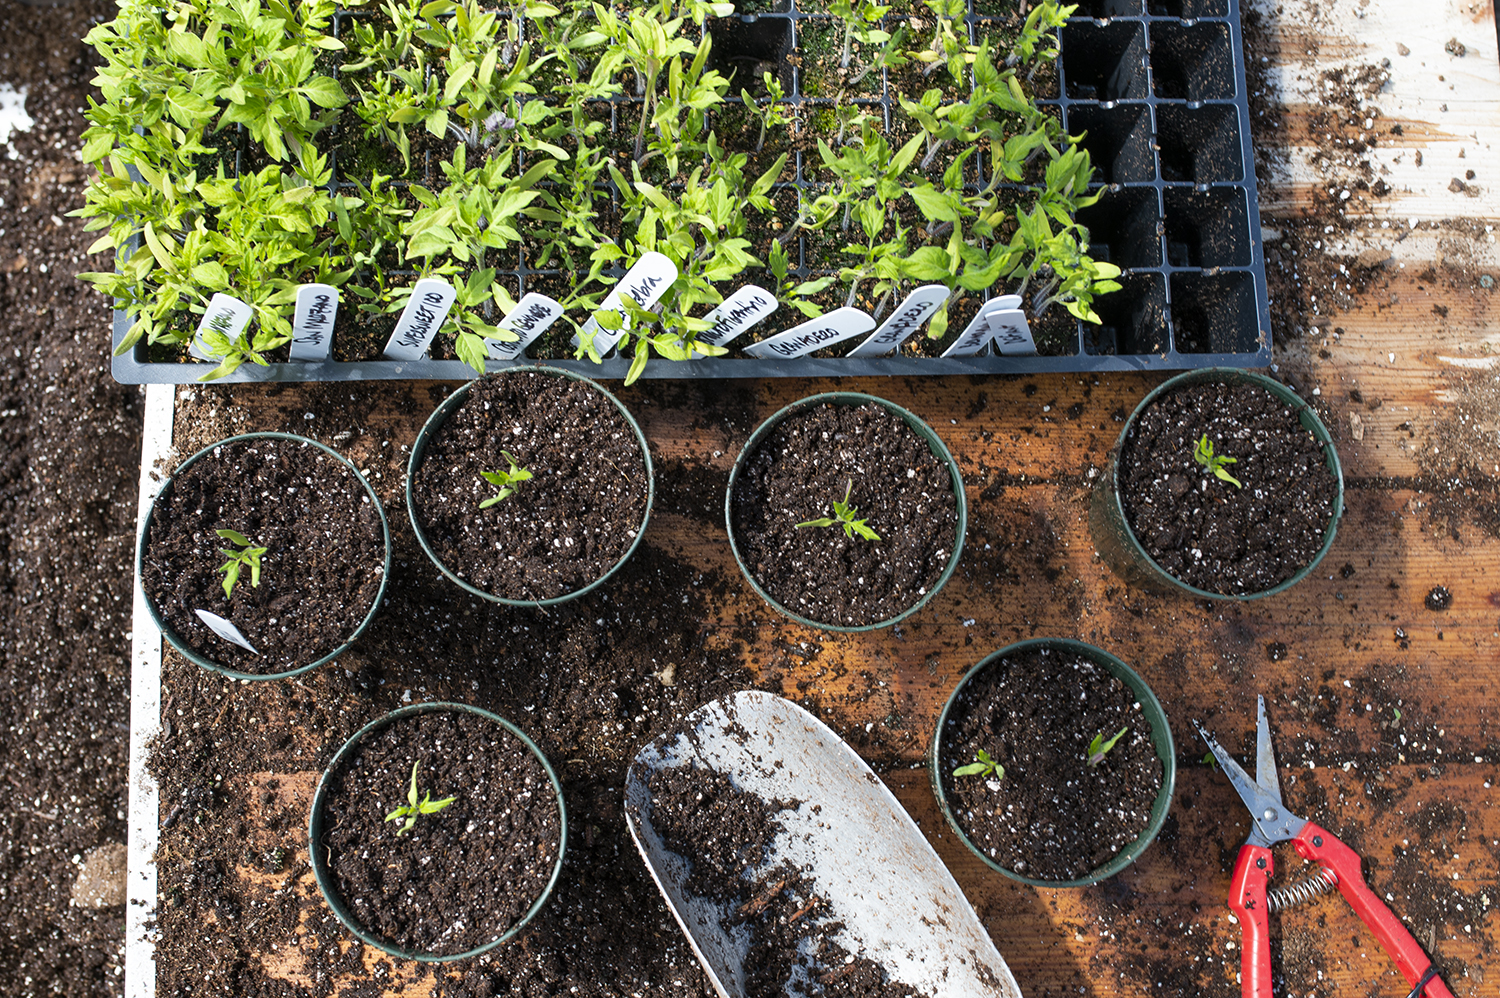
3. Label. This step seems obvious but it’s easy to forget every once in awhile (even for me)! For entire or half flats, I use painter’s tape along the side, and for individual pots/plants I use old mini-blinds cut into 4-6-inch lengths. These labels are waterproof and you’ve done your part for the environment by recycling!
4. Keep your seeds and seedlings well lit. I use shop lights over my flats and pots. Yup, the same one from the hardware store. I suspend them 2 inches above the soil and raise them up as the plants grow.

5. If possible, water the trays from the bottom. Place your seeding tray into a standard 1020 tray without holes and let the plants soak up water from the bottom.
6. Use bottom heat to speed up the germination process. You can pick up heat mats at your local hardware or garden center. A great garden hack is to use incandescent (not LED) Christmas rope lights under your flats! They will warm, but won’t burn. Then, remove the plants from the heat source once they’ve germinated. (Note: seedlings don’t require as much warmth as seeds.)
Grow, Grow, Grow!
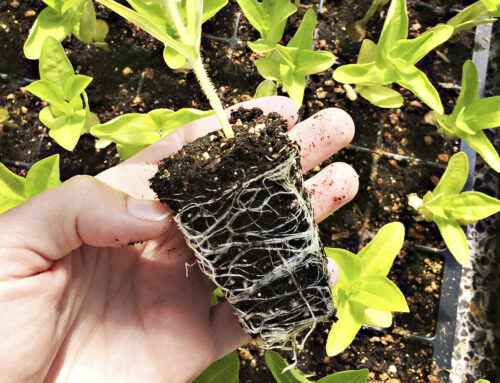
7. Get a basic fan. You can find these for a few bucks at Walmart. A little air movement goes a long way to building strong root systems and healthier seedlings. Additionally, air circulation is a good defense against disease and infection.
8.Feed your seedlings once they have 2-4 true leaves with a gentle fertilizer. I prefer a fish emulsion and kelp mixture at half strength. It gives your plants a little boost.
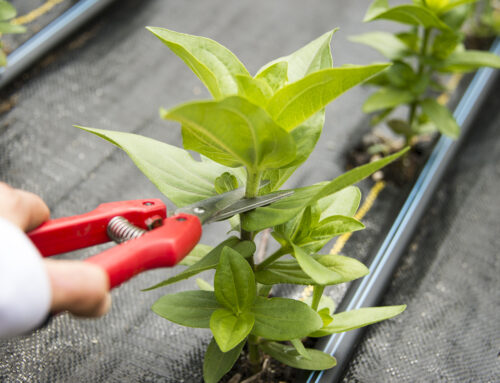
9. Harden them off! Gradually expose your seedlings to cooler temperatures over a week before planting them outside. This avoids shock and transplanting stress.
10. Milk jugs and 1 to 2 liter soda bottles make great DIY cloches! Cut the bottom off and place them over the transplants, sinking the bottom about 1 inch into the soil to anchor it against the wind. On warm days, take the tops off to vent and replace them in the early evening!
Bonus:
Give your seeds and seedlings a light dusting of cinnamon when sowing. It’s a natural fungicide!
Happy Sowing!

[…] Warmth* (optional—see My Top 10 Tips for Seed Starting Success) […]