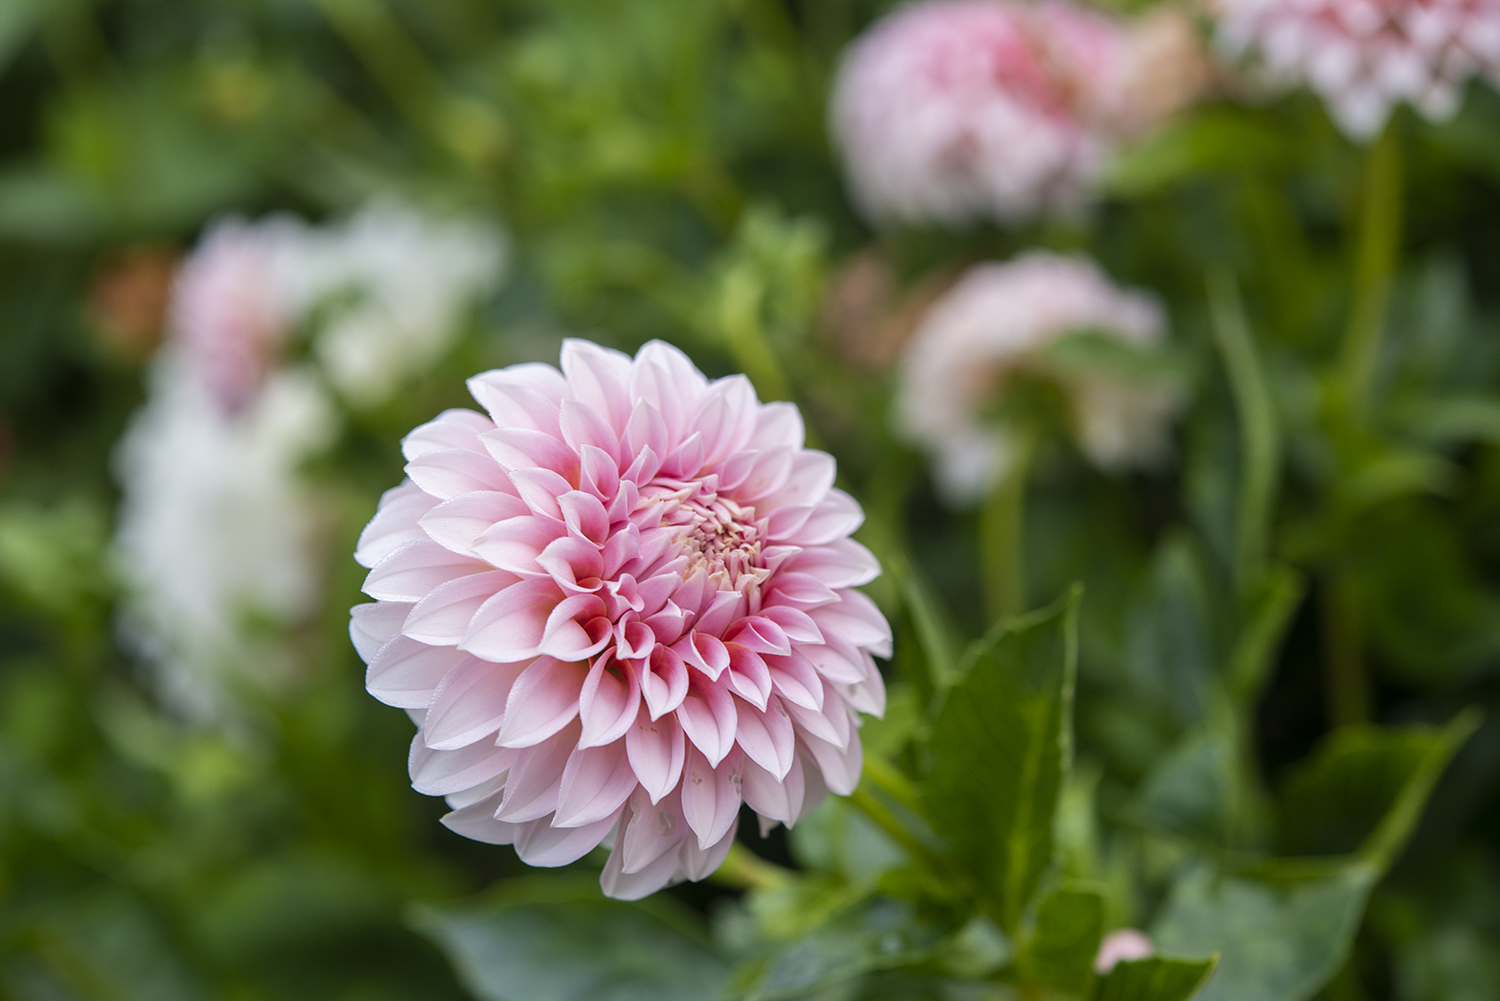
Garden planning, this is it! If you’re one of those luck people who enjoy thrusting your hands into the dirt—it’s time to dive into planning what to grow!
It can be overwhelming coming into the new year. All those pesky New Year’s resolutions that are already falling off, new gym memberships are dipping, and with 2020 lost to the coronavirus it can feel a little daunting. But if you’re one of those lucky people who enjoy thrusting your hands into the dirt, this is the time of year we’ve all been waiting for, garden planning!
At this moment all those new plant varieties you’ve been eyeballing in catalogs look like they’d be the perfect addition to the garden. And the modifications you made note of last summer are coming back to you. And the best part of all is—all things are possible and you haven’t run out of growing space yet!

Mulling over where to grow, what to plant and how many, makes many of us gardeners vacillate between overconfident exuberance and paralyzing fear. The excitement over starting fresh, growing your favorite vegetables and flowers as well as adding all those botanical treasures you discovered between the glossy pages of seed catalogs is intoxicating. I personally over-order on seeds every. year. I just can’t say no to those Tennessee Dancing Gourds or Rat’s Tail Statice that I’m thrilled to get in my grubby little palms. And don’t get me started on perennials. Every spring you’l find me walking around the yard with a gallon pot of my latest addition looking for that extra space to plant. Alternatively, you can feel almost frozen. Not wanting to make a mistake. Wanting everything to be perfect.
So now I’m going to tell you the holy grail of garden secrets.
Gardening is a journey.
Not a destination.

Your garden will never be “finished.” It will never be complete. Instead it will evolve. And the best part is that, it’s supposed to!
Growing living things is a practice.
One you will always be improving on and changing.
A garden is a living thing—just like you and me. It must change and develop over time. Yes, sometimes things go wrong. Last year we had a drought and my garlic haul came in much smaller than expected. But that’s okay, next time it happens I know I’m going to provide additional water. The bonus is over time, your garden will get richer with each year and exceed your expectations.
There’s this great garden quote that I love,
There are no garden mistakes, only experiments— Janet Kilburn Phillips
Now after my long-winded introduction I’m sure you’re asking, where do we start? Well, that’s easy. Start with what you’ve already got!
Public Service Announcement:
If you’re an experienced gardener, feel free to skip any steps that you’ve already got under your belt.
Step 1:
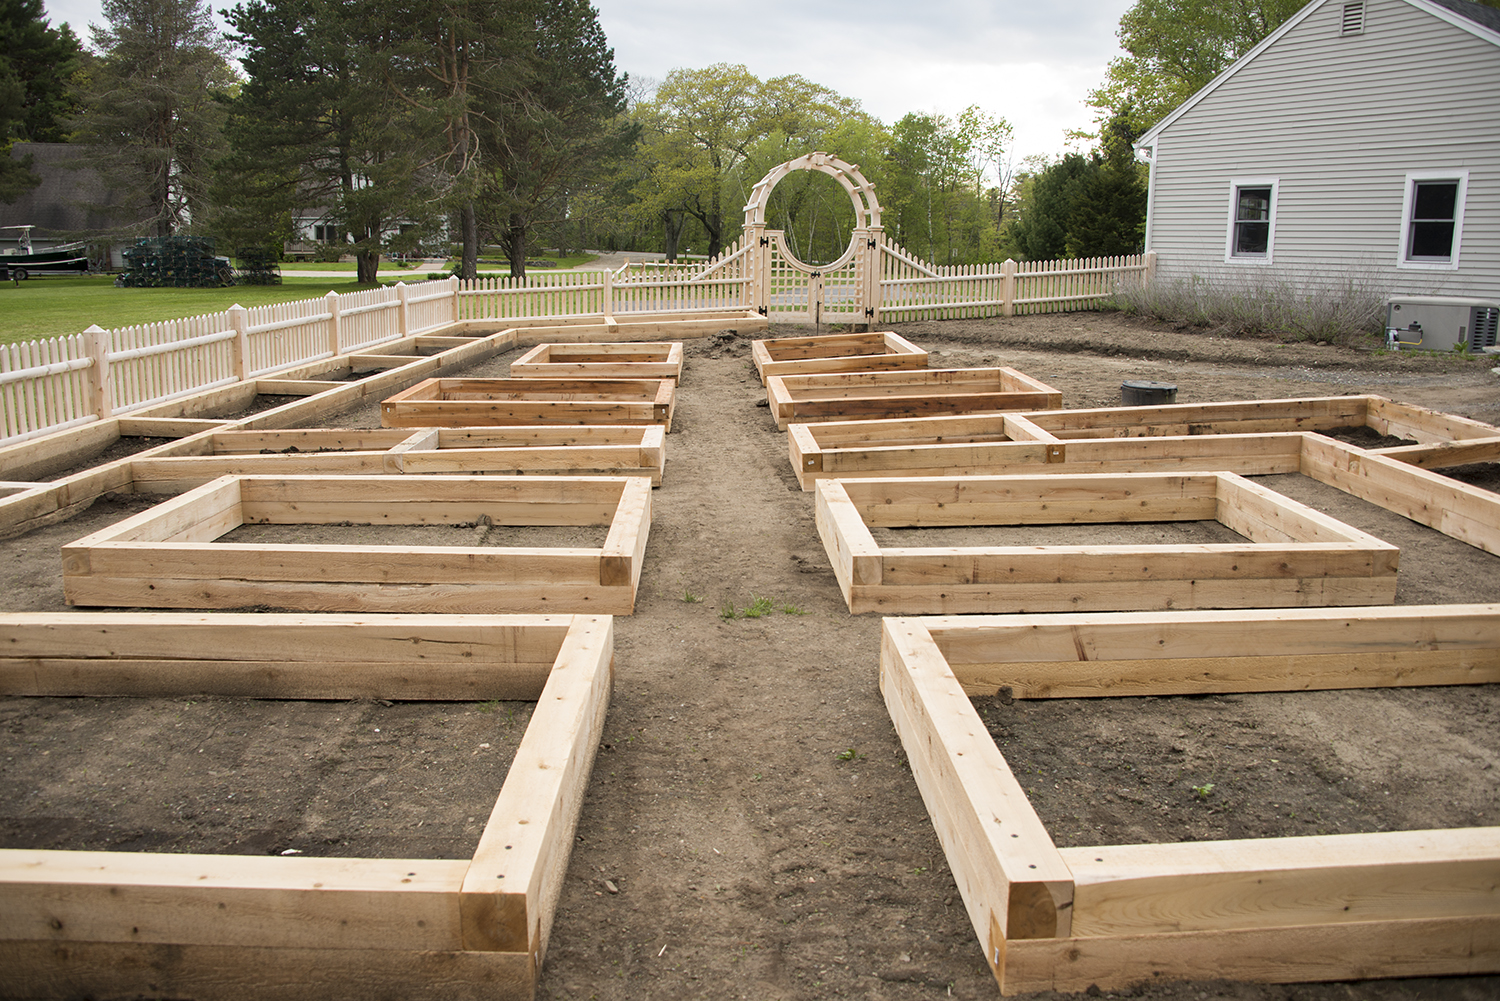
Measure. Take your measuring tape out (or borrow one from your partner’s work bench as I do) and measure the perimeter of your garden and the size of your garden beds and paths. This doesn’t have to be overly exact, but it will help you get an idea of how much space you have and how everything is oriented.
If this is your first year gardening, begin by measuring the overall vspace you intend for your garden to be.
Step 2:
Plan it out. Let your inner math geek out and pull out the graph paper! (If you don’t have graph paper handy, simply print some out from the internet, for example; HERE.) Of course you don’t need to use graph paper, personally I find it helps me keep my lines straight and plant spacing accurate.
2.a) Start by drawing out the boundaries of your garden. I like to make 1 box = 1 foot. If your garden is bigger than your graph paper, just tape two pieces together.
2. b) Next add in the garden beds and paths. Now you have a nice plan to start with. Newbies will have to decide on bed size and path width at this point.
Suggestion: never make your garden bed any wider than 4 feet. Otherwise you won’t be able to plant or harvest from the center without stepping in the beds. They can as long as you want, just keep the width to the 4’ max.

Step 3:
Go and get your leftover seed packets. I like to make a list of all the seed I already have, broken down by vegetables, herbs and flowers. Make a note of any seed that may be super old. (If you’re brandy-new to gardening, then no worries, you’re already ahead of the class and are ready to start on step 5.)
Step 4:
Do a viability test (Check out the blog post of Seed Viability Testing HERE!) on any old seed that you’re concerned may not germinate.

Step 5:
Now comes the best part, make a list of the seed you Want To Grow, broken down by veggies, herbs and flowers. (Tip: I like to make note of which catalogue each entry comes from, along with price, color and size. This information will be helpful later in step 6).
Step 6:
I like to now crosscheck my “Already Have” list with my “Want to Grow” list. Seeing if there’s anything I missed.

Step 7:
This is the troublesome part. Tally up your seed total to check if you’re staying within your garden budget. It’s easy to get carried away browsing through the captivating catalogs. So taking a moment to reassess if you absolutely NEED five sunflower varieties (which I insist, I do!) is valuable.
STOP! Do not pass go! And Do Not order yet! We’ve got to make sure you’ve got a place for everything.
Step 8:
The map. Everything comes together here for me. Using either dots or x’s (I personally prefer little “x’s”) to denote plants, draw in where you want to plant what varieties and the quantity. Start with placing your perennials, such as asparagus (if you have any). Keep in mind these plants won’t be moving around, so think long term. Will you like having a giant rhubarb in the center of the bed? Or would it be better positioned along the edge of the garden?
For more information on plant spacing, check out my post where I dive deep into Plant Spacing and Sow Schedule in the Garden!
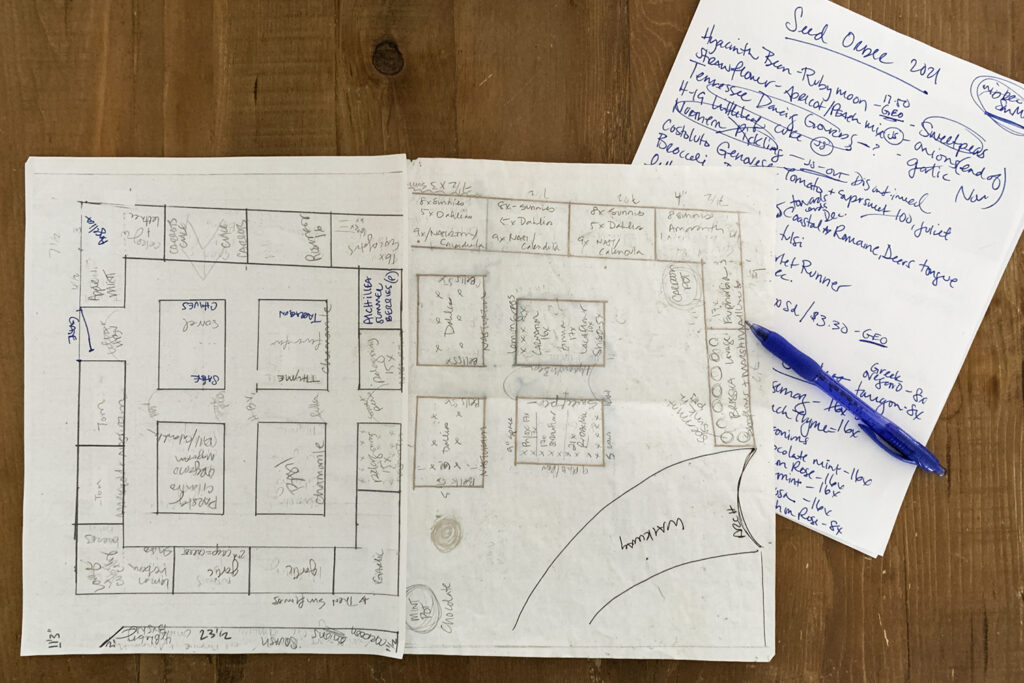
When picking what goes where annual-wise, you can group plants by color, size, plant type, or a giant jumble of all of the above. I prefer to group my vegetables by their nutrient needs as it minimizes depletion of the soil.
Crop rotation is KEY to a healthy and productive kitchen garden.
While I rotate all my beds (with the exception of perennials), the four primary groups of vegetables that should be moved around annually for optimal plant and soil health are: Legumes (beans and peas), Brassicas (broccoli, cabbage, kale, Brussels sprouts), Nightshades (tomatoes, potatoes, eggplant and peppers), and Root Crops (leeks, onions, garlic, carrots).
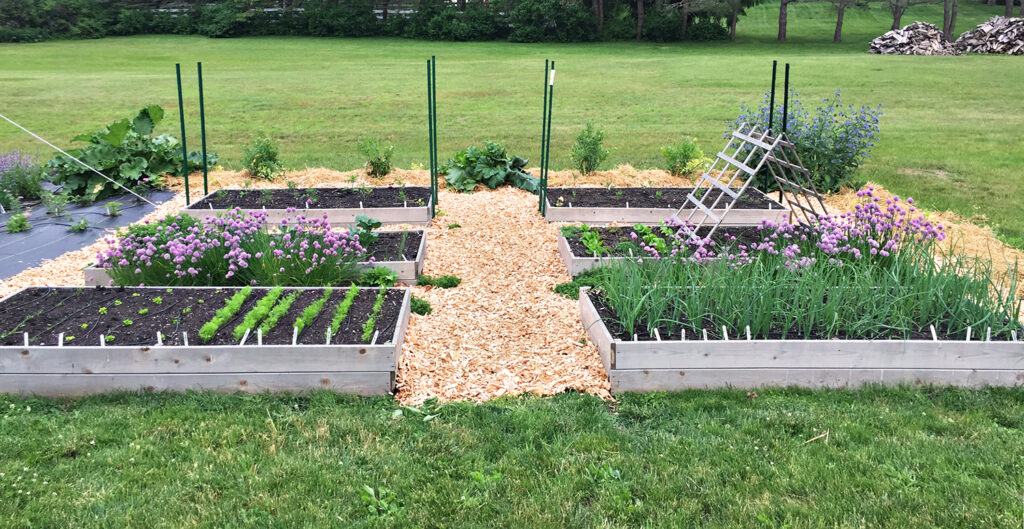
Greens (lettuce, swiss chard, spinach) I’ll grow throughout wherever there’s a little bit of space. They’re quick crops and mostly harvested by the time the other veggies get big enough to need the extra elbow room. Melons, squash and pumpkins (which are just large, orange squashes) I keep in a larger bed. These do get moved around each year to avoid damage by squash vine borers, squash bugs and powdery mildew. Then there’s the corn and cukes. Again move them around each year, but their placement isn’t as critical as those veggies in the four main groups mentioned above.

Herbs are great throughout the garden. Not only do you get to enjoy their scents far and near, but their pungency act as a good deterrent for little rodents and other veggie-snacking-predators.
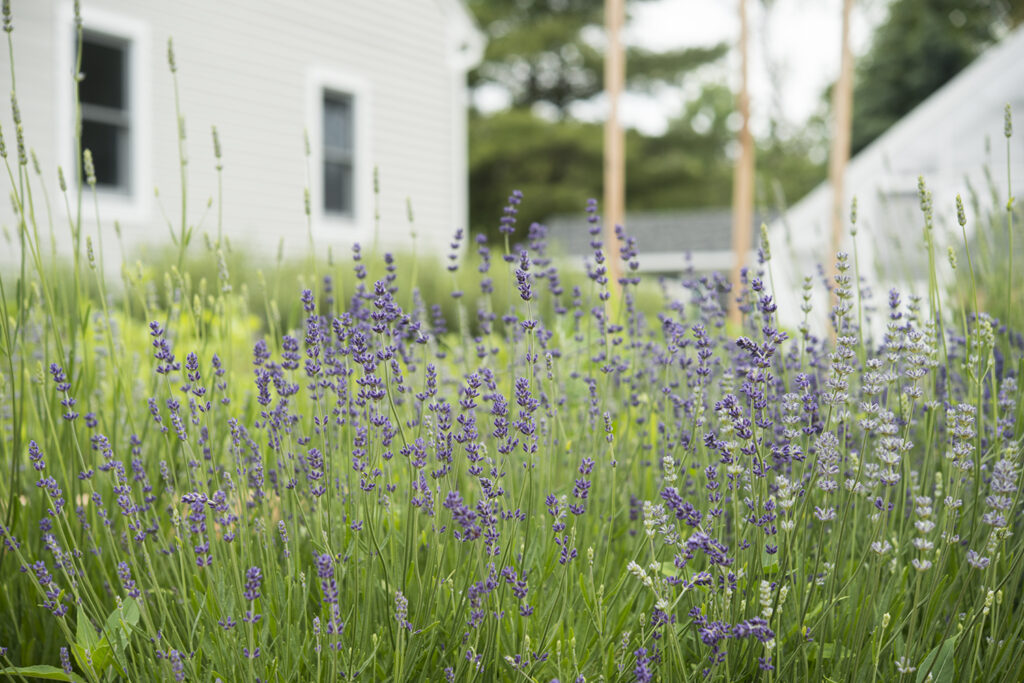
Flowers are also spread about the garden. First—and foremost—because they’re pretty. And I want that pretty spilling over every bit of the space. But also because many of these attract pollinators like bees and butterflies, as well as beneficial insects. Ladybugs are especially handy, keeping the garden healthier, more productive—and the aphid population down!
Flower Growing Tip: Look for the word “heirloom” in your plant catalogs. Heirloom varieties are more attractive to butterflies, and other beneficial bugs than hybrids!
Step 9:
Once this map has been filled with all my seed and plant dreams … I order my seed! Sometimes—okay, more often than not—I’ve run out of space in my plan. This means some of those new varieties will have to wait another year. This is why I find planning out the garden before ordering useful.
And just being honest here … I still over-order. Once all my seedlings are in the ground, you’ll find me running around looking for any open space I can sneak in some of those new additions I just had to have.
Check out my posts on Seed Viability, Sow Schedule and Plant Spacing, and Seed Sowing for more information on getting your garden started!
Isn’t planning your garden fun?! Happy planning and planting!

[…] my posts on Garden Planning, Sow Schedule and Plant Spacing if you aren’t sure how many seeds to sow, when to sow or how […]
[…] if you’re ready to get growing, check out my posts where I share with you all about how I Plan my Garden, and figure out my Sow Schedule and Plant […]