Love sowing, growing (pinching), and harvesting sweet peas? Me too! Read on to find out why the mighty sweet pea is one of my favorite flowers to grow.
Favorites
My mom always said she didn’t play favorites between my sister and I, and neither of us ever believed her; each of us thinking the other was getting something that we weren’t. Now that I’m older, I know my mother was telling the truth, because that is how it is for me in the garden. With so many flavors and colors to enjoy, how can I have a favorite?
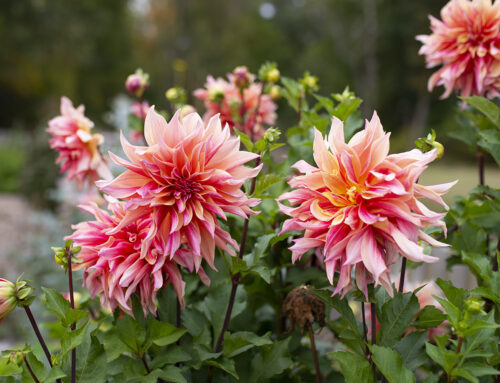
Between large, dinner plate dahlias (which I can wax poetic on for days) and scented geraniums (think of a scratch-n-sniff sticker, but with plants!), not to mention my kitchen garden—which is filled with a tasty array of tomatoes, carrots and broccoli—I can hardly narrow down the list of “favorites.”
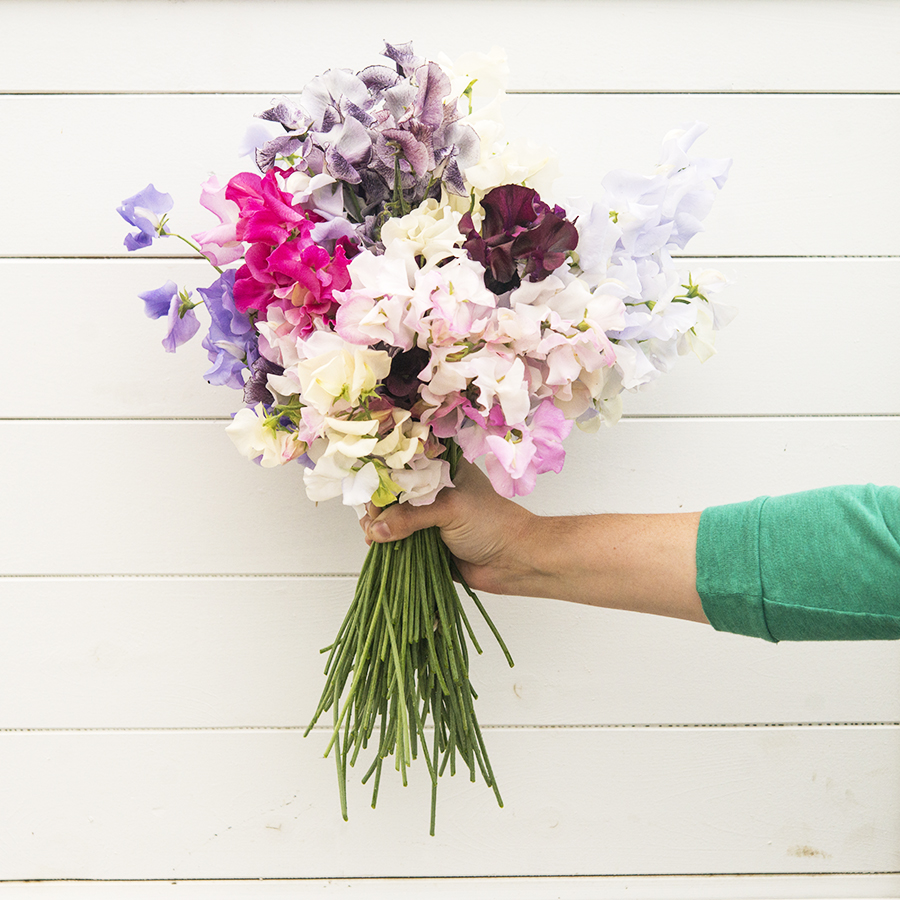
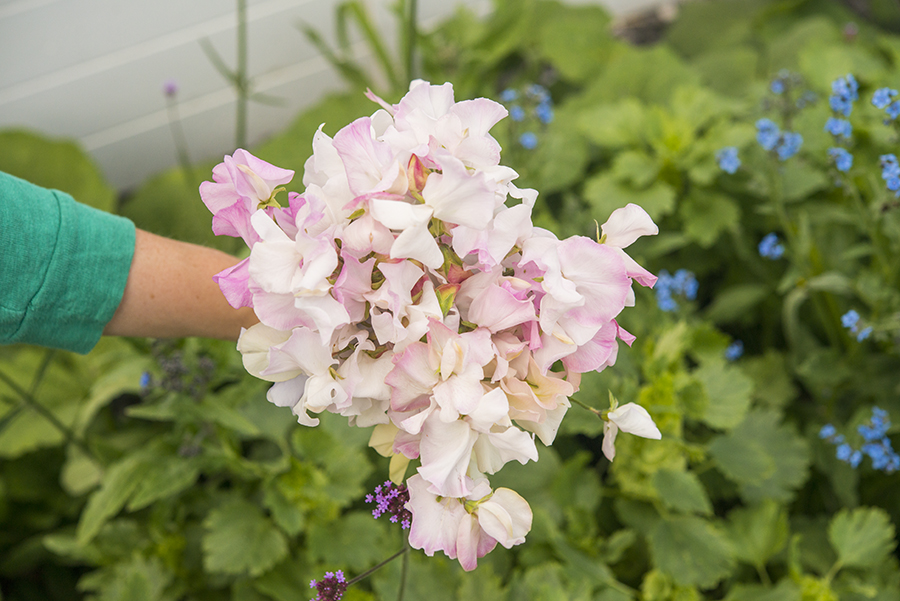
That said, each child—in my case plant, is not without their own uniqueness that must be encouraged and celebrated. For example, there will always be a special place in my heart for the delicate sweet pea. They are like the childhood friend that visited your family’s home every summer; you can’t wait for them to arrive and feel lost when it’s time to say your goodbyes.
Growing up, my mom always kept a jar of sweet peas on the windowsill, their sweet scent welcoming me home on warm summer days, a link between the outside and in, and I’ve continued the tradition she unknowingly set in motion, growing these deliciously scented plants every year without fail.
Sowing Sweet Peas
Sweet peas need a good start and really benefit from some ruthless pinching, so a head start is well needed. Typically, I start these at the end of January, or early February, soaking the seeds overnight.
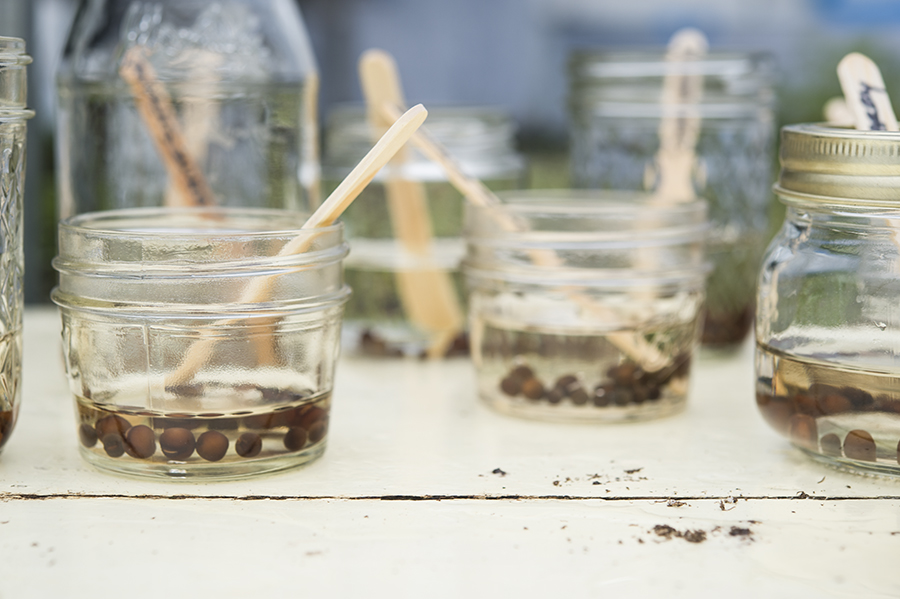
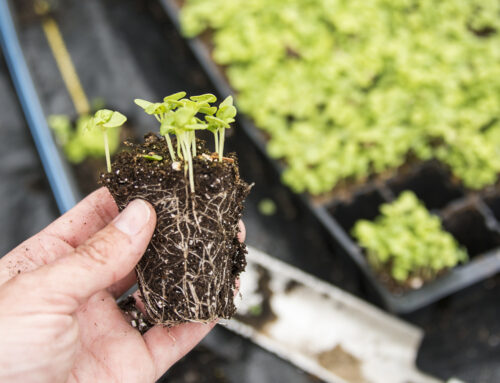
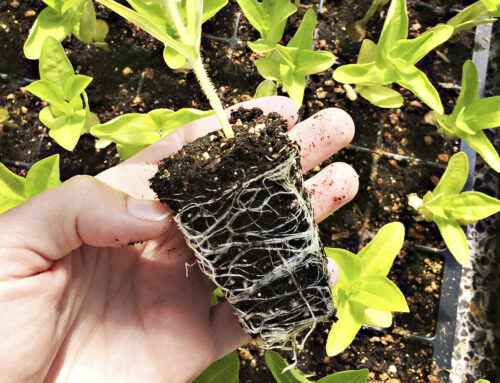
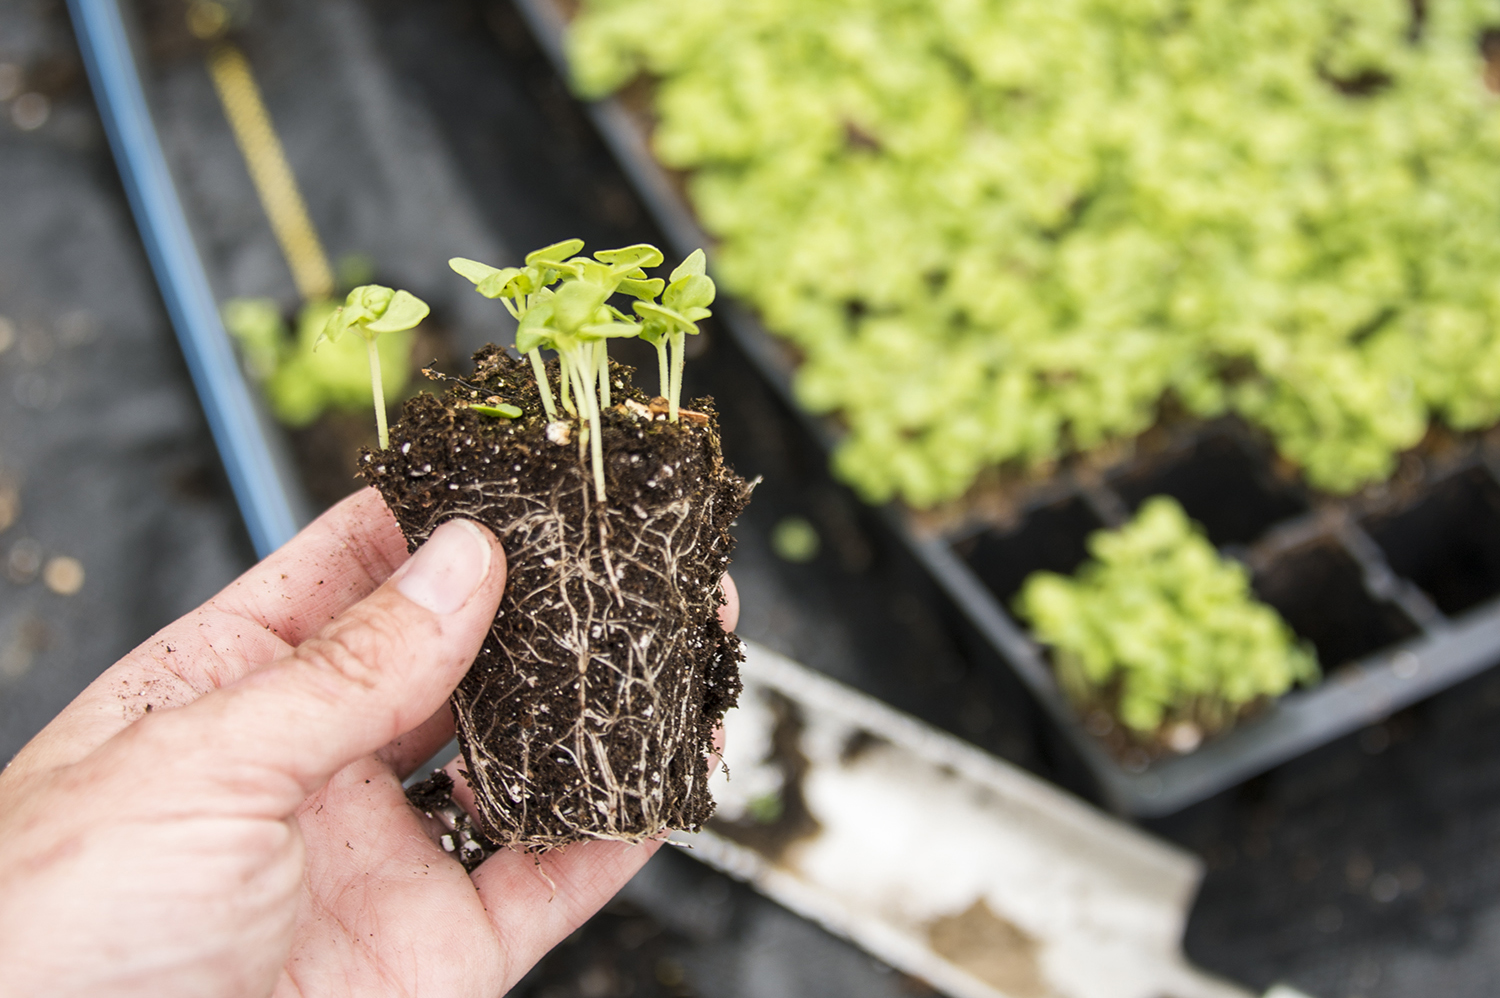
The following morning, after they’ve plumped-up, I sow them two-to-a-pot. Set your pots and trays on a heat mat to help give them a head start germinating. Since sweet peas develop a rather elaborate root system (which we want to encourage), I’ve found they do much better if I start them off in a larger 2.5″ square pot. Sowing them directly into the pot I intend to keep them in until transplanting assists in strong root development.
Pinching
Now comes the part that makes many gardeners break out in hives—pinching. Once the plants reach about 6-8″ tall and have 4-6 sets of true leaves, cut them back to one or two sets of leaves. Yes, I am cutting away lots of leafy green growth. Yes, I promise this won’t decimate your plants. This will in fact make your seedlings branch, develop more stems and give you longer flower stems. So this is TOTALLY worth it! Check out my post on the Beginner’s Guide to Pinching for a more detailed walkthrough of this this technique.
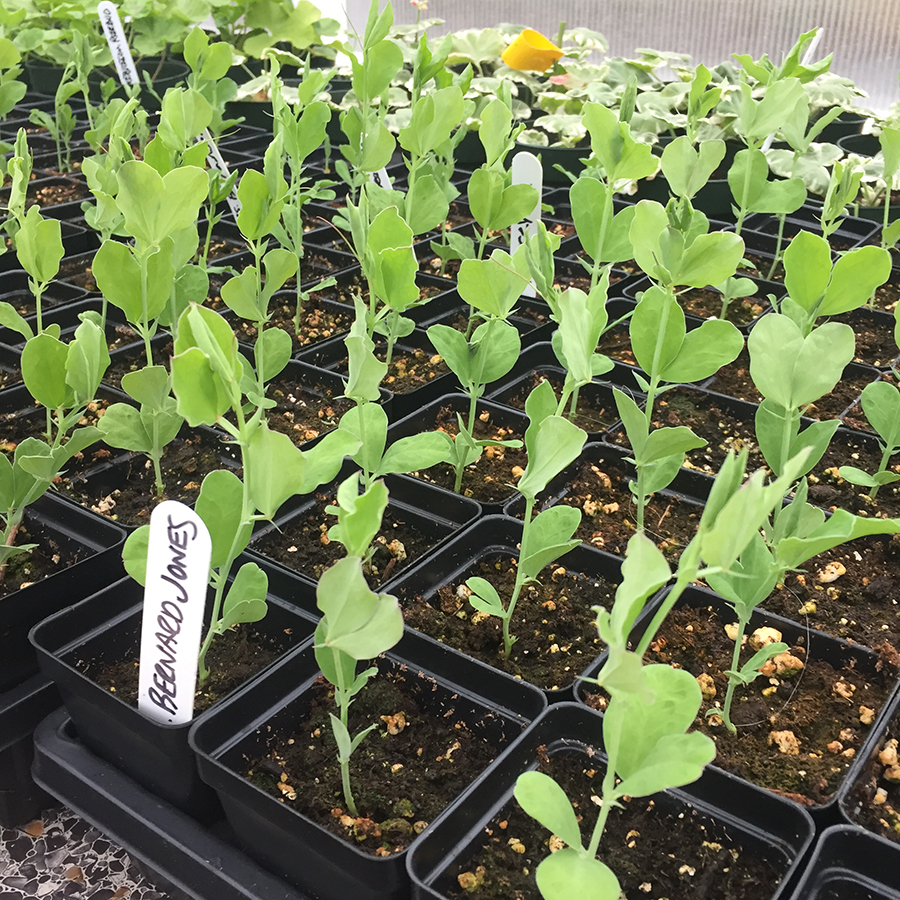
And just to blow your minds … I do this 2-3 times (as time allows) before setting out!
Hardening Off and Transplanting
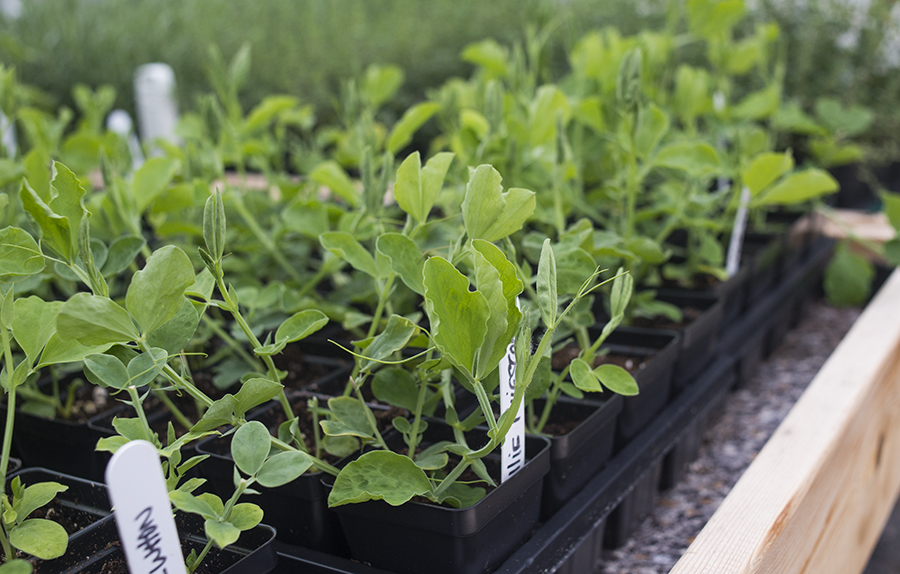
Now, before the sweet peas are planted outside in the garden, I harden them off religiously, as sweet peas are very sensitive to temperature fluctuations. On the first day I move them to the front of the greenhouse and open the door. Then the following day I move them to a sheltered spot outside for a few hours, making sure to bring them back inside the greenhouse. Each subsequent day I leave them outside a little longer than the day before, before returning them to the greenhouse. This process takes about 10-14 days.
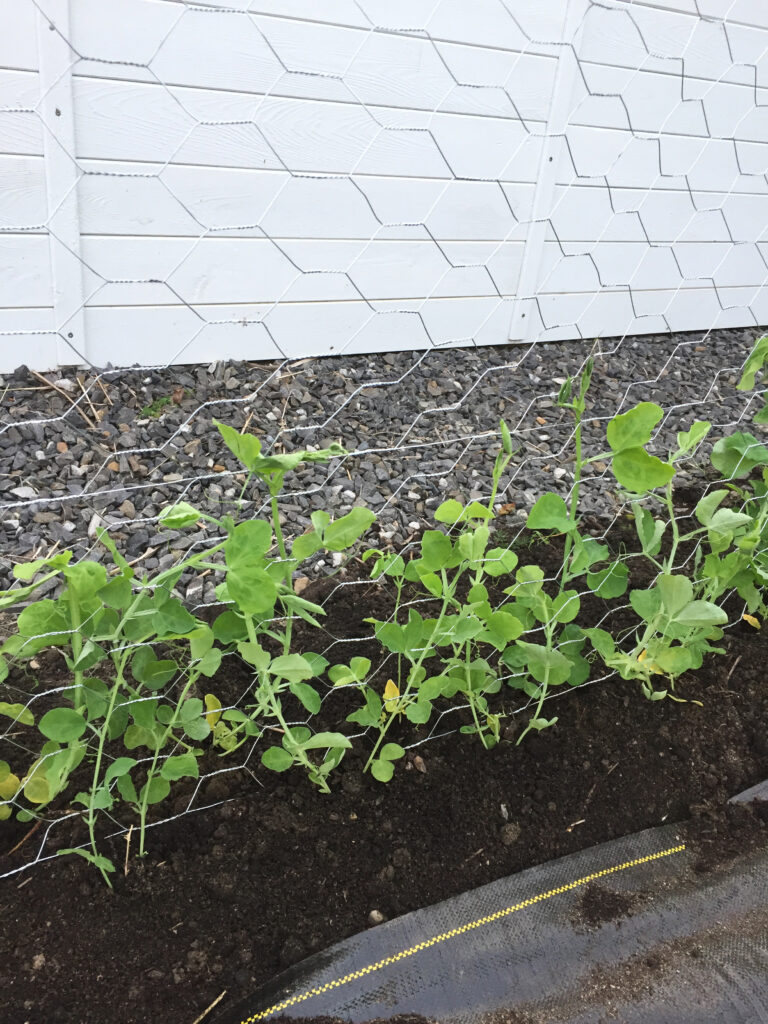
I’m all about gardening organically. Each year I top off my bed with a couple inches of fresh compost and scratch in bonemeal to promote healthy root systems and growth. Because I love the way intensive planting strategies look—and save space—I plant my sweet pea seedlings 6″ apart and weave them into the trellis above. I’ve used all sorts of materials: nylon netting, wood lattice and chicken wire. Personally I like the chickenwire because it’s not distracting once the plants begin blooming, it’s much stronger and doesn’t sag between the t-posts. But mostly, because it’s so much easier to clean up at the end of the season. Also, I plant on both sides of my free-standing wall trellis to make the most of the space.
Grow, grow, grow!
From then on it’s mostly watering. I usually give my newly seedlings a dose of fish emulsion to get them excited about growing, but after that it’s just regular, deep watering. Try to avoid short, infrequent watering as that’s often not enough to reach the deep root system. As the plants take off I add a layer of jute twine every 12″ to corral the sweet peas and keep them growing upright.
Harvesting
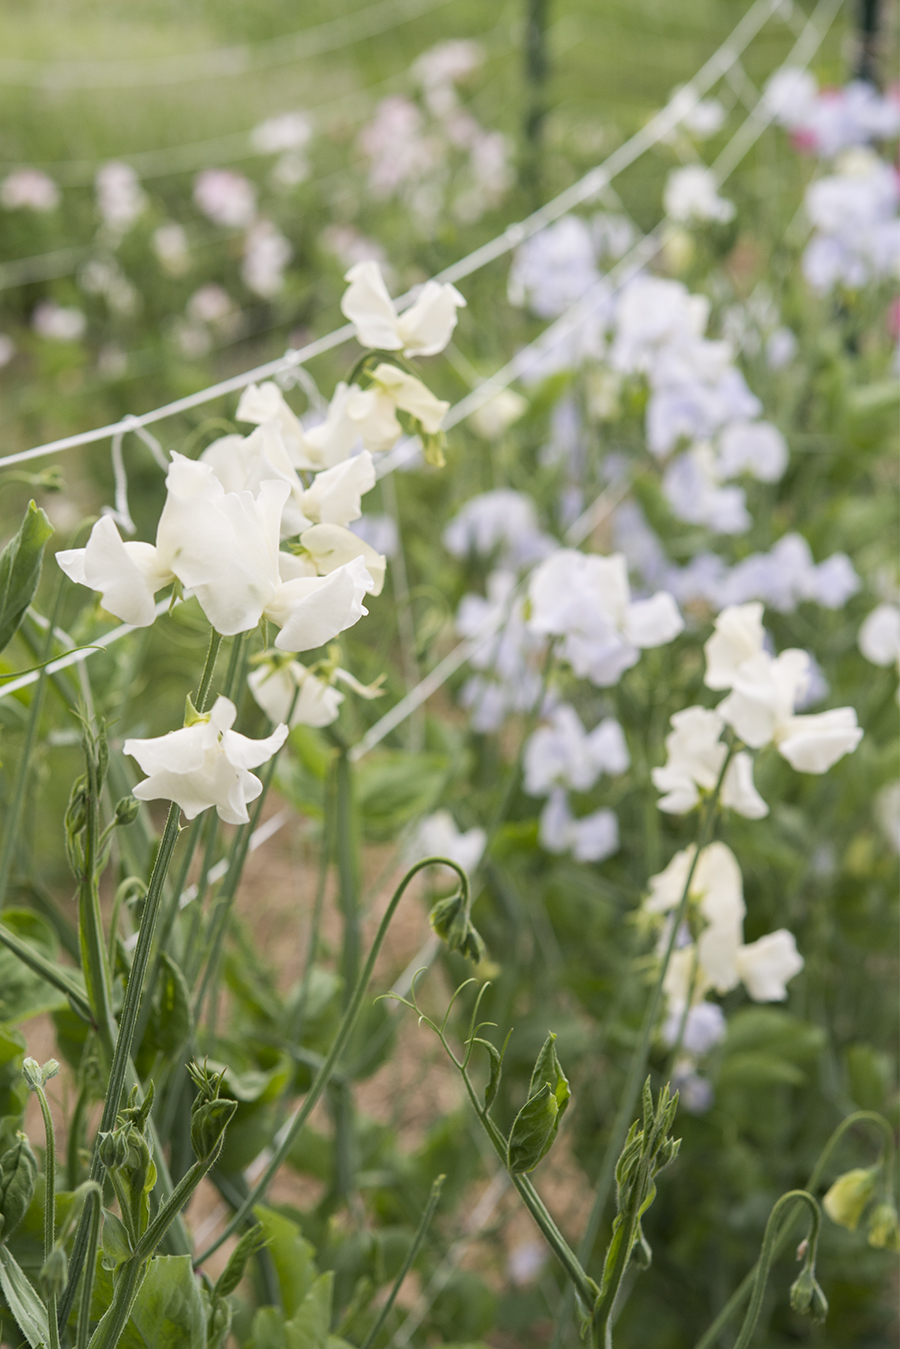
Once you start seeing blooms it’s time to cut, cut, cut! Typically I’m out there cutting stems three times a week. Sweet peas seem to be of “the more you cut, the more you get” plant variety. And don’t forget to remove any spent flowers along the way. This prevents the plants from going into seed-starting mode, elongating the bloom period—whichZ is the whole point of growing these sweet-smelling beauties!

My Spencer sweet peas are pretty heat tolerant and really kick it into high gear by mid-Summer. So much so that there’s plenty for my home and to sell at market, but enough leftovers to share with family and friends! But the best part about growing these tall, elegant plants? Every time I get a whiff, I’m transported back to some of the happiest moments of my childhood.